Travel Photography Tips Digital Nomads Can Use For Their Next Adventure
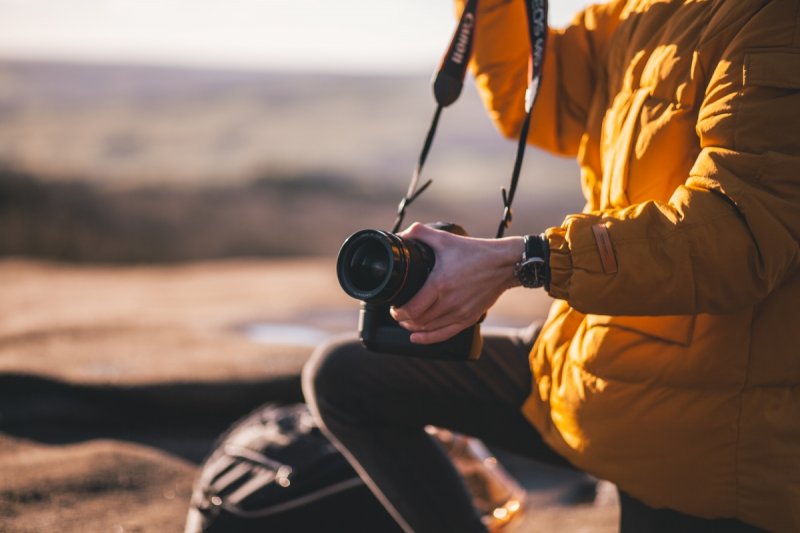
The nomadic lifestyle is exciting. And so your photographs should be too.
Being a digital nomad means seeing the world in its raw form. You don’t do touristy things such as checking in at nice hotels, having sumptuous meals and other things which tourists usually do. Instead, you dig in deeper. You adapt to what the locals do and experience their culture firsthand.
As a photographer, it is important that you have the same message relayed across to people. It is not to prove anything, but to offer something different. Something extraordinary.
Whether you are an expert digital nomad or just recently started, below are some tips which might come handy on your next trip.
Use the Rule of Thirds
Pretty basic yet very effective tip.
It is made possible by mentally dividing your image with 2 horizontal lines and 2 vertical lines. This makes up 9 equally sized squares. Pay attention to the 4 points where the lines meet. Now, position the important element of your photograph along the lines or on the intersecting points.
Placing the element in focus on the side of the frame gives a breathing area, rather than placing them in the middle. It also allows the photographer to make use of the free space creatively.
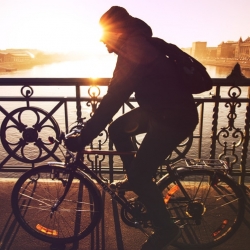
Learn to use the Exposure Triangle
The exposure triangle is composed of - aperture, shutter speed, and ISO.
Aperture is simply the measurement of how open or closed the lens is. A wider aperture welcomes more light in and works best if you wish to isolate a subject. While a narrower aperture lets less light in which is good for taking scenery shots.
Next, shutter speed. It tells how long the shutter remains open, which also results in the sensor being exposed to light. If you are taking a photograph of a moving object, then it’s best to set a higher shutter speed. And for stationary subjects, it is otherwise.
The last member of the trio is the ISO. Which basically is the ability of your camera to control the amount of light needed. Increasing ISO allows you to work during instances when there is less light source, like night shooting.
These three always work hand-in-hand.
Use a Polarizing Filter
A polarizing filter is placed in front of the camera lens to give out effects that the buttons from your camera cannot provide.
Some effects include darkening of skies, manage reflections, and just basically make your shot stand out, to be honest.
It has two types: the linear and circular polarizer. The linear polarizer changes the light balance of the photograph, while the circular does the same too but then it is followed by a quarter-wave plate to further give the photo its “wow” effect.
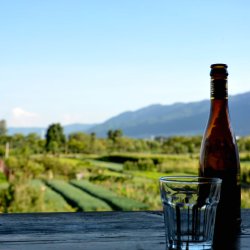
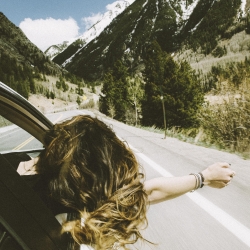
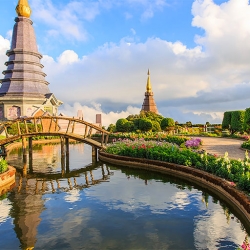
Create a Sense of Depth
Including a sense of depth in your photos brings your viewer into the photograph too, hypothetically.
It works best with landscape shots or taking that perfect sunset shot with having the beach line as your basis. This allows the photos to look more interesting and engages the viewer more. It’s a type of photograph which deserves a second look, and a long stare.
Don’t Use Flash Indoors
Most photographers hate the use of flash actually unless it is a professional one.
And to be fair, nothing beats natural lighting too. However, even taking indoor shots, the use of flash is still not really suggested. As an alternative option, the ISO feature is set higher instead. ISO can be set to 200 when shooting outdoors. But when indoors, it can be set for up to 800 to 1600. This technique makes the photos look more natural.
BONUS TIP: Invest More in Learning (and less on gear)
You can buy more new gadgets if you want, but unless you get to have the right skill, your shots will not be better than your last one. It is better to train yourself more and do additional practices to get the hang of it better. If you think that enrolling in a photography course online could help you a lot, then do it. After all, these courses are way cheaper than a new camera anyway.
More to Read:


Previous Posts: